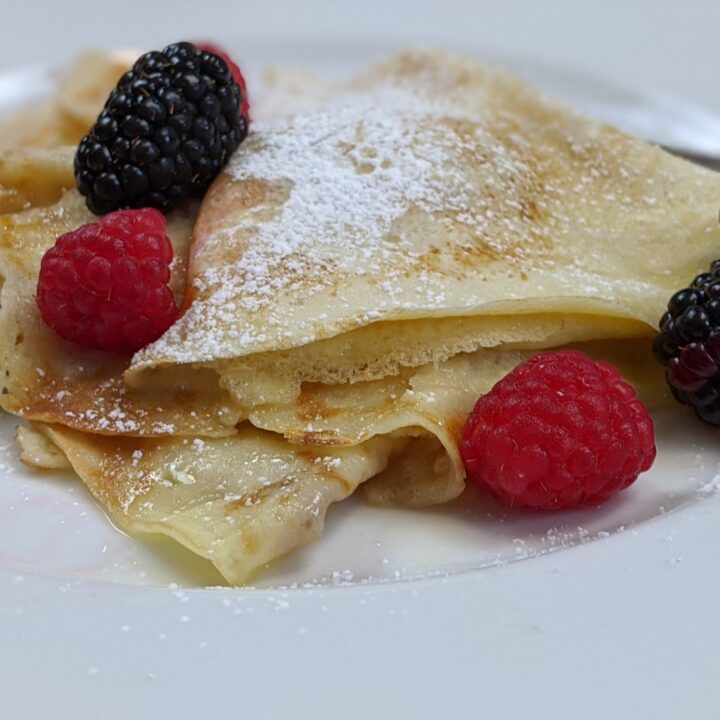
In my family there are few recipes that hold more meaning and versatility than crêpes.

I can remember helping my mother make crêpes when I was about the same age as Madeline in the photo above. She would first cook them, then meticulously place a Cool Whip bowl upside down to trim them in perfect circles. My important job was always to eat the edges she trimmed off (I didn’t ever fail in that responsibility). Madeline was far more advanced than I, and could make crêpes on her own.

After starting a family of my own, crêpes became a special breakfast treat…or a wonderful entrée for guests (after they were filled with savory morsels). Then I traveled to France.
Before starting on your crêpe endeavor it is important to invest in the proper tools that include:


Classic Crêpes
Thin French pancakes, perfect for filling.
Ingredients
- 1½ cups all-purpose flour
- 3 large eggs
- ¾ tsp fine sea salt
- 1½ cup whole milk
- ⅔ cup unsalted butter, melted
- ½ cup water
- butter for griddle
Instructions
- Pour flour, eggs, salt, and milk into blender and blend until smooth. Add the remaining ingredients and blend until smooth again.
- Heat a 6-inch non-stick skillet on medium heat add a touch of butter to oil the pan then pour in just enough batter to coat the bottom of the pan. (Adding the butter is optional after cooking the first crêpe- you do not need to add any additional fat to keep the crêpes from sticking; there is enough butter in the batter.)
- Quickly spread the batter into even layer with a rateau (or crêpe rake) or by tilting the pan to make it even.
- Cook for about a minute, until bottom is slightly golden and top is set then flip or gently lift and turn to cook on the other side about 30 more seconds.
Notes
The unfilled crêpes freeze wonderfully well, just stack them with wax paper between the layers or make them a day or two before and store in refrigerator. It is easiest to separate the crêpes if you let them come to room temperature first.
Many recipes recommend making crêpe batter and allowing it to sit for at least an hour before using. I find that with this recipe that is not necessary because it is very well mixed in the blender.
